The Tip Decides Everything
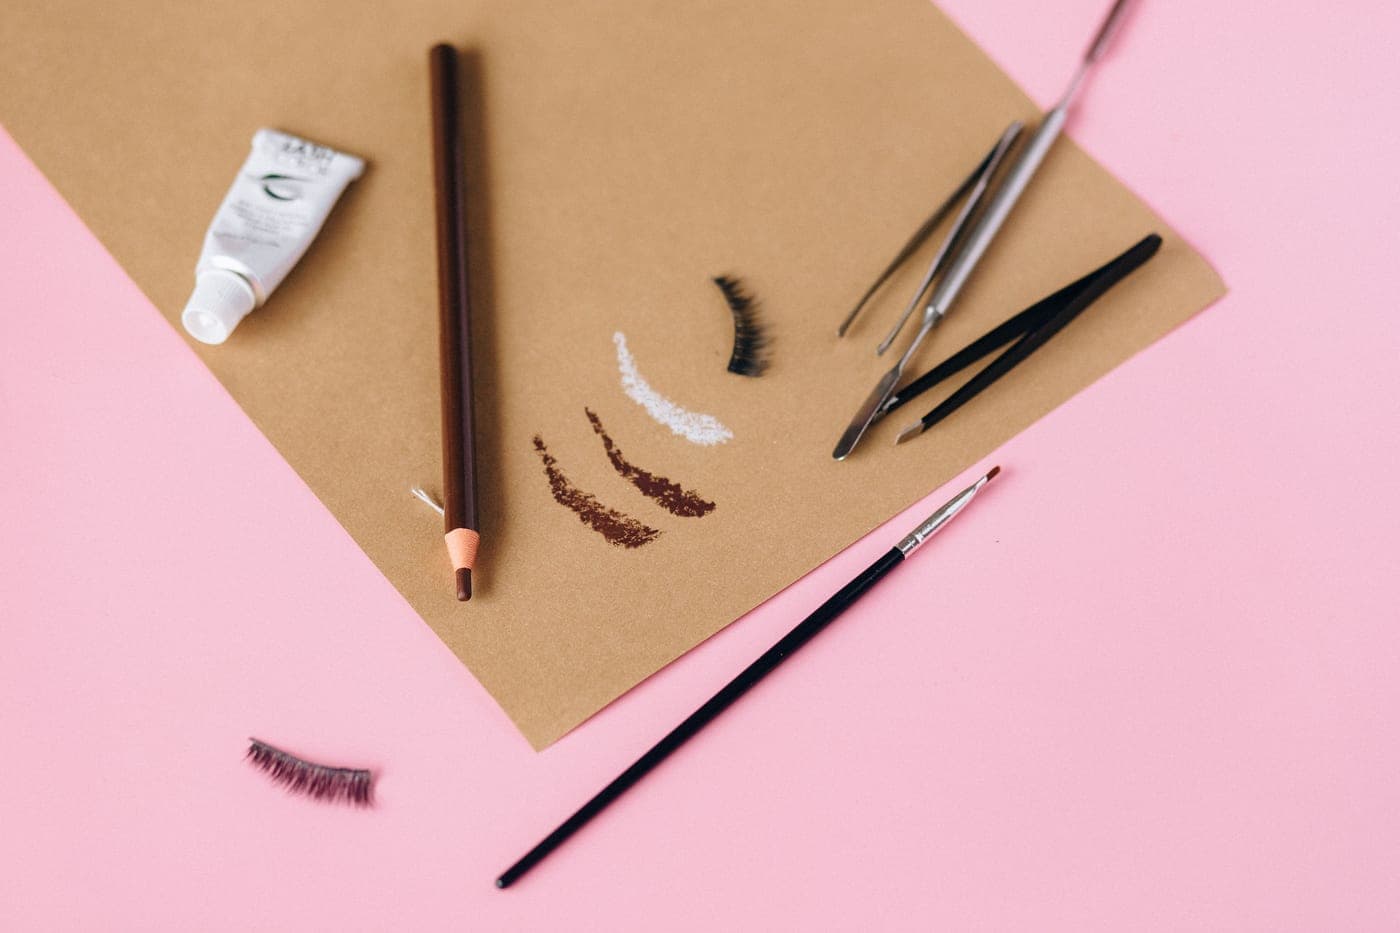
Brow pencils do one of two jobs, and the tip is what separates them. A very fine tip draws individual strokes that read as hair, which suits sparse or over-plucked brows where you need to invent shape. A wider, softer tip deposits color in a diffuse way, which suits brows that are already full and just need depth.
| Tip | What it does | Best for |
|---|---|---|
| Ultra-slim, around 1mm | Individual hair-like strokes | Sparse brows, gaps, defined tails |
| Slim, around 1.5mm | Strokes with a little more speed | Everyday filling with some precision |
| Angled chisel | Broad edges and quick shaping | Full brows needing depth, not shape |
| Powder pencil | Soft, diffuse color | A natural finish; the most forgiving |
Almost every pencil worth buying has a spoolie on the other end, and it is not decoration. Brushing through after you draw is what turns visible strokes into something that reads as hair rather than as makeup.
Shade, Which Is Where Most Purchases Go Wrong
- Match the root, not the ends. Hair is usually lighter at the tips, especially if it is colored.
- Dark hair: go one shade lighter. A pencil that matches black hair exactly reads as a drawn-on line.
- Light hair: go one shade darker, or brows disappear entirely in photographs.
- Watch the undertone. Most people need a cooler, grayer brown than they expect; warm brown pencils read ginger on ash-brown hair.
- Gray hair: a taupe or soft gray pencil, not brown.
How to Use One
- Brush the brow upward first with the spoolie, so you can see where the gaps actually are.
- Draw short strokes in the direction the hair grows, starting under the arch and at the tail, where brows are usually sparsest.
- Leave the front softest. A sharply drawn inner edge is the single most obvious tell.
- Brush through again to blend the strokes into the hair.
- Set with a clear gel if your brows are unruly — see best brow gels.
If you find yourself drawing most of the brow rather than filling it, a pencil alone is the wrong tool: a tinted gel or a pomade will look softer and take less time. The pencil is for precision at the edges.
Pencil, Pomade, Powder or Gel
The pencil is one of four ways to do the same job, and which one suits you depends less on your brows than on how much time you are prepared to spend and how much definition you want at the end of it.
| Format | Finish | Effort | Best for |
|---|---|---|---|
| Pencil | Defined, hair-like | Medium | Gaps, tails, and inventing shape where hair is missing |
| Pomade | The most defined | High; needs a brush | Sparse brows and anyone who wants a sharp result |
| Powder | Softest and most diffuse | Low | Full brows that only need depth |
| Tinted gel | Natural, slightly textured | Lowest | Brows with hair that needs color and hold at once |
| Clear gel | No color, just hold | Lowest | Full brows that stray — see best brow gels |
Most people end up with two: a pencil for the sparse third of the brow and a gel to hold everything in place. That combination takes about a minute and survives a day better than either on its own, because the gel sets the pencil work as well as the hair.
One habit worth breaking: sharpening a pencil to a needle before every use. A slightly blunt, slanted tip deposits a softer, wider stroke that looks more like hair than a fine hard line does, which is why so many pencils are now sold with a fixed, non-sharpenable tip.